Index of /sock making machine/KIT PHOTOS
Name
Last modified
Size
Description
Parent Directory
-
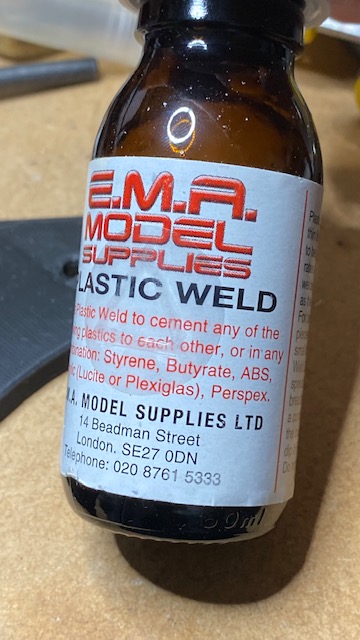
UK Solvent.jpg
2021-11-17 15:05
80K
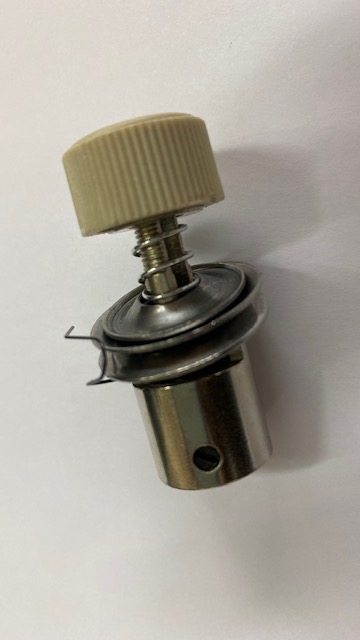
Tension_Unit_2.jpg
2021-11-18 17:35
37K
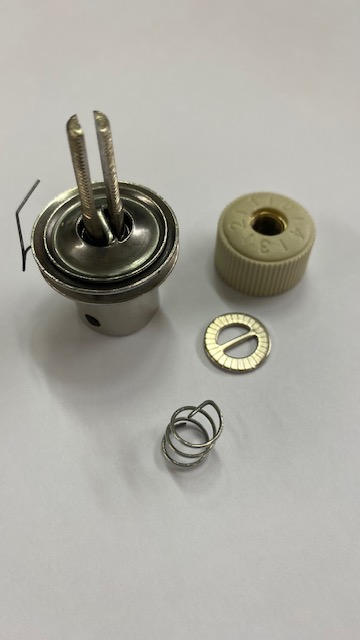
Tension_Unit_1.jpg
2021-11-18 17:35
38K
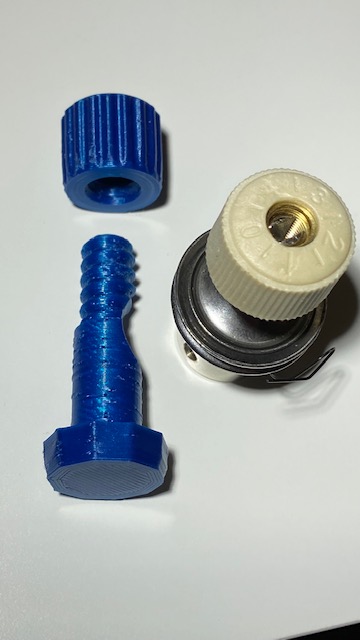
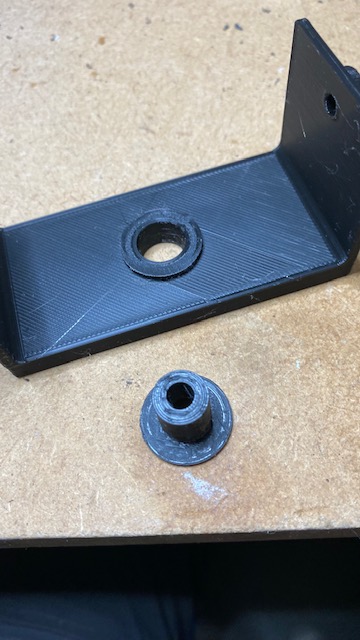
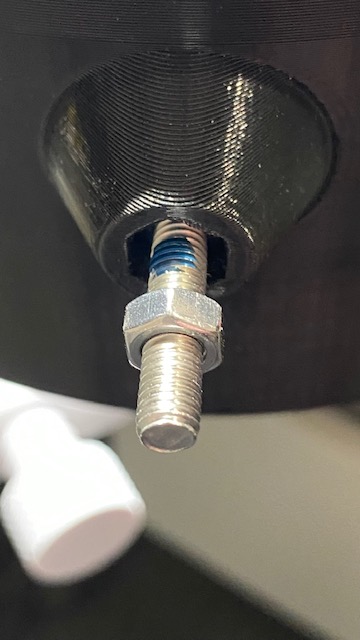
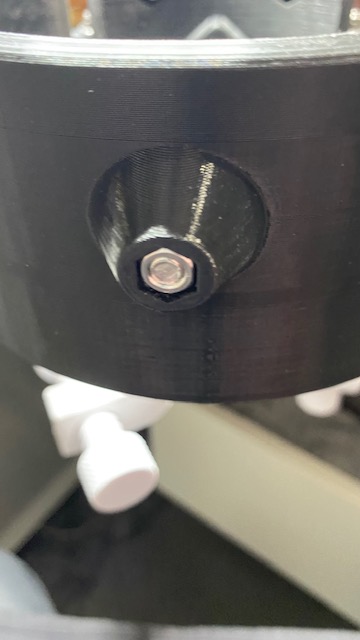
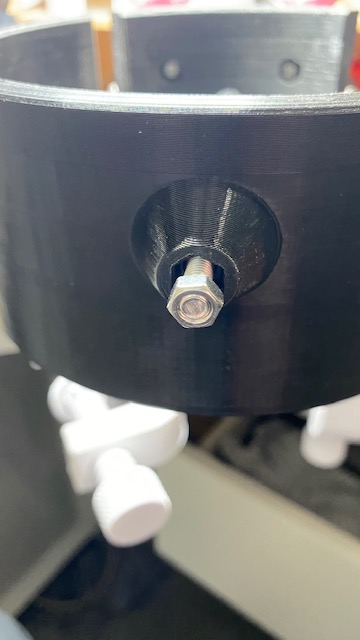
Tension Unit and Grip with Nut.jpg
2021-11-28 15:33
44K
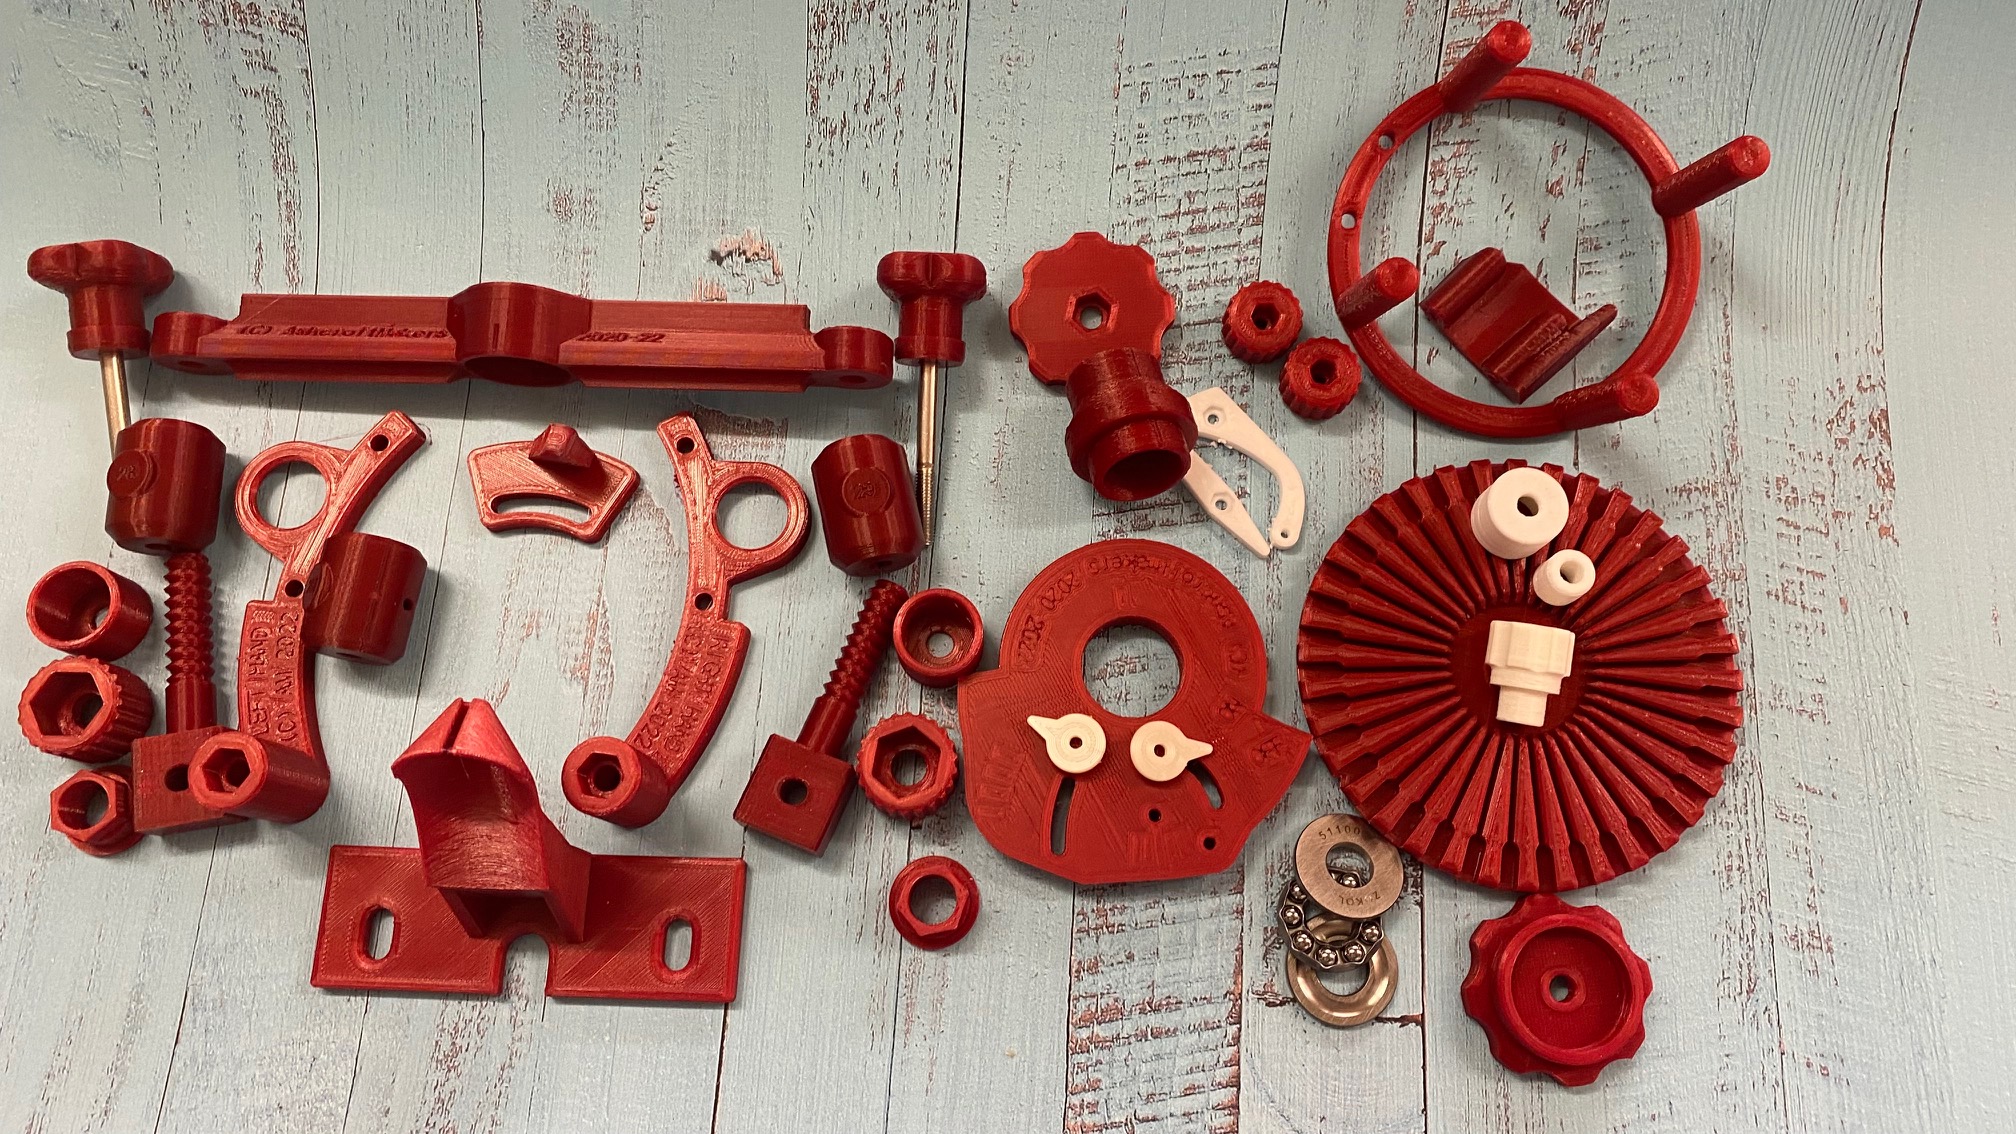
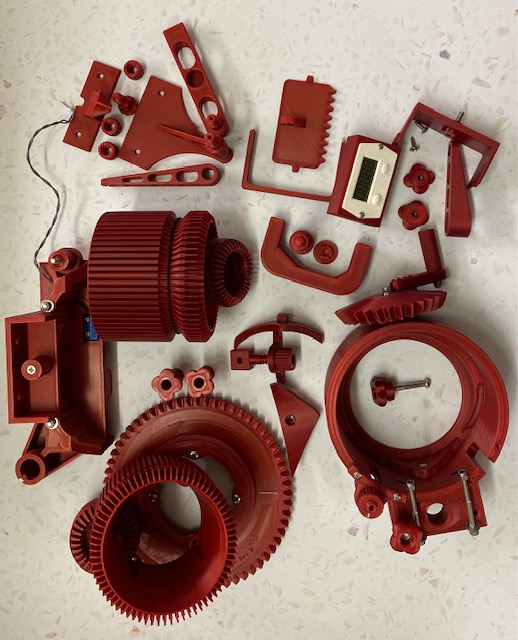
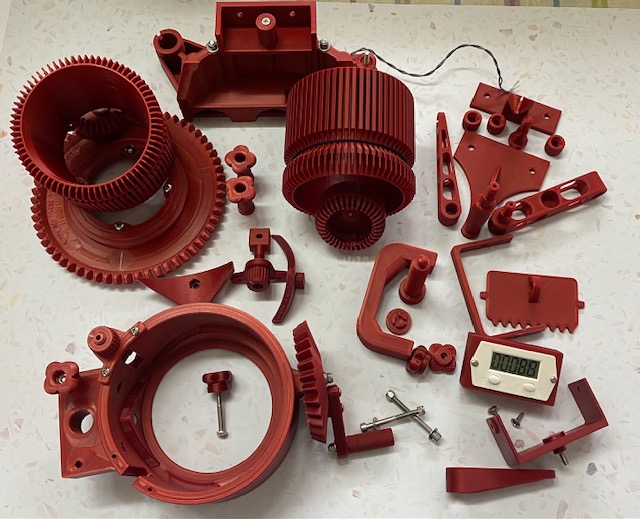
Red.jpg
2022-10-14 08:23
392K
Pearl.jpg
2022-10-14 08:23
951K
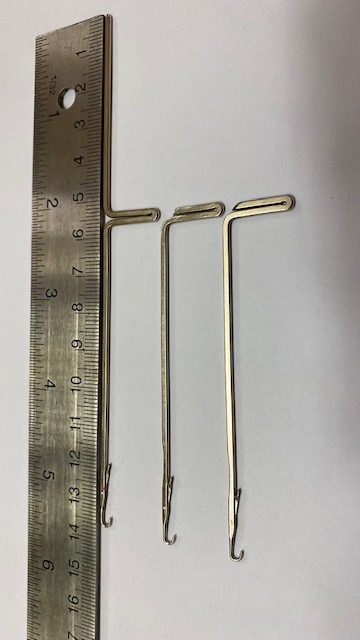
Part 16 - Sock Grip Components.jpg
2021-11-17 15:05
85K
Part 16 - Sock Grip Assembly_3.jpg
2021-11-17 15:05
84K
Part 16 - Sock Grip Assembly_2.jpg
2021-11-17 15:05
78K
Part 16 - Sock Grip Assembly_1.jpg
2021-11-17 15:05
111K
Part 15 C clamp assembly.jpg
2021-11-17 15:05
84K
Part 14 Fitting Peg to Swivel_3.jpg
2021-11-17 15:05
70K
Part 14 Fitting Peg to Swivel_2.jpg
2021-11-17 15:05
81K
Part 14 Fitting Peg to Swivel_1.jpg
2021-11-17 15:05
74K
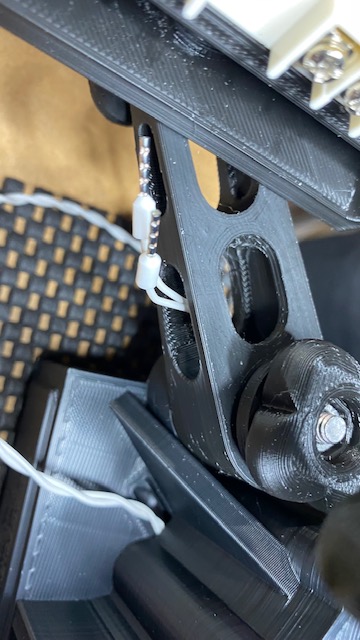
Part 14 Counter Cable Route_4.jpg
2021-11-17 15:05
66K
Part 14 Counter Cable Route_3.jpg
2021-11-17 15:05
66K
Part 14 Counter Cable Route_2.jpg
2021-11-17 15:05
78K
Part 14 Counter Cable Route_1.jpg
2021-11-17 15:05
68K
Part 14 Counter Arm to Part 1 Assembly_3.jpg
2021-11-17 15:05
73K
Part 14 Counter Arm to Part 1 Assembly_3 - Knob.jpg
2021-11-17 15:05
58K
Part 14 Counter Arm to Part 1 Assembly_2.jpg
2021-11-17 15:05
68K
Part 14 Counter Arm to Part 1 Assembly_1.jpg
2021-11-17 15:05
63K
Part 14 Assembly Swivel to Counter Carrier_4.jpg
2021-11-17 15:05
59K
Part 14 Assembly Swivel to Counter Carrier_3.jpg
2021-11-17 15:05
63K
Part 14 Assembly Swivel to Counter Carrier_2.jpg
2021-11-17 15:05
54K
Part 14 Assembly Swivel to Counter Carrier_1.jpg
2021-11-17 15:05
58K
Part 14 Assembly Swivel to Counter Arm_1.jpg
2021-11-17 15:05
83K
Part 14 - captive bolt for setting into Part1.jpg
2021-11-17 15:05
37K
Part 14 - Pegs.jpg
2021-11-17 15:05
72K
Part 14 - Counter Carrier Assembly_3.jpg
2021-11-17 15:05
83K
Part 14 - Counter Carrier Assembly_2.jpg
2021-11-17 15:05
55K
Part 14 - Counter Carrier Assembly_1.jpg
2021-11-17 15:05
52K
Part 12 Knut Variants_Counter_Carrier.jpg
2021-11-17 15:05
90K
Part 12 Knut Variants_2.jpg
2021-11-17 15:05
90K
Part 12 Knut Variants_1.jpg
2021-11-17 15:05
91K
Part 12 Fitting M5 Full Nut_5.jpg
2021-11-17 15:05
56K
Part 12 Fitting M5 Full Nut_4.jpg
2021-11-17 15:05
45K
Part 12 Fitting M5 Full Nut_3.jpg
2021-11-17 15:05
78K
Part 12 Fitting M5 Full Nut_2.jpg
2021-11-17 15:05
75K
Part 12 Fitting M5 Full Nut_1.jpg
2021-11-17 15:05
47K
Part 12 Completed.jpg
2021-11-17 15:05
102K
Part 12 Clearing Long Knob Hole.jpg
2021-11-17 15:05
47K
Part 11 Cam Clip Assembly.jpg
2021-11-17 15:05
95K
Part 11 Cam Clip Assembly - lift screw assemblyIMG_2427a.jpg
2021-11-17 15:05
66K
Part 11 - Cam Clip and Washer Assembly.jpg
2021-11-17 15:05
86K
Part 11- Cam Clip Parts.jpg
2021-11-17 15:05
102K
Part 11 - Cam Clip Knob Underside.jpg
2021-11-17 15:05
66K
Part 11- Cam Clip Assembly_2.jpg
2021-11-17 15:05
72K
Part 10 to Part 11 - Cam and Lift Assembly_4.jpg
2021-11-17 15:05
79K
Part 10 to Part 11 - Cam and Lift Assembly_3.jpg
2021-11-17 15:05
61K
Part 10 to Part 11 - Cam and Lift Assembly_2.jpg
2021-11-17 15:05
67K
Part 10 to Part 11 - Cam and Lift Assembly_1.jpg
2021-11-17 15:05
84K
Part 10 Left Cam Long Bolt_1.jpg
2021-11-17 15:05
55K
Part 10 Cams Finishing_8.jpg
2021-11-17 15:05
43K
Part 10 Cams Finishing_7.jpg
2021-11-17 15:05
46K
Part 10 Cams Finishing_6.jpg
2021-11-17 15:05
41K
Part 10 Cams Finishing_5.jpg
2021-11-17 15:05
43K
Part 10 Cams Finishing_4.jpg
2021-11-17 15:05
57K
Part 10 Cams Finishing_3.jpg
2021-11-17 15:05
58K
Part 10 Cams Finishing_2.jpg
2021-11-17 15:05
80K
Part 10 Cams Finishing_1.jpg
2021-11-17 15:05
56K
Part 10 Cams Finished.jpg
2021-11-17 15:05
74K
Part 10 Cams Centre Cam Finished.jpg
2021-11-17 15:05
65K
Part 10 Cams Before Left Finished Right_4.jpg
2021-11-17 15:05
84K
Part 10 Cams Before Left Finished Right_3.jpg
2021-11-17 15:05
67K
Part 10 Cams Before Left Finished Right_2.jpg
2021-11-17 15:05
96K
Part 10 Cams Before Left Finished Right_1.jpg
2021-11-17 15:05
78K
Part 10 Cams Before.jpg
2021-11-17 15:05
59K
Part 8 Tapered Arm_2.jpg
2021-11-17 15:05
79K
Part 8 Tapered Arm_1.jpg
2021-11-17 15:05
91K
Part 8 Foot and Peg Assembly.jpg
2021-11-17 15:05
75K
Part 8 Foot and Peg.jpg
2021-11-17 15:05
46K
Part 8 Foot and Parallel Arm_2.jpg
2021-11-17 15:05
72K
Part 8 Foot and Parallel Arm_1.jpg
2021-11-17 15:05
112K
Part 8 - Foot Peg Assembly_2.jpg
2021-11-17 15:05
63K
Part 6 Shortened Caston Bonnet Screw Loops.jpg
2021-11-28 15:34
35K
Part 6 Removing bonnet support.jpg
2021-11-17 15:05
80K
Part 6 - Removing Bonnet Support_2.jpg
2021-11-17 15:05
84K
Part 6 - Fitting Bonnet Loop_2.jpg
2021-11-17 15:05
66K
Part 6 - Fitting Bonnet Loop_1.jpg
2021-11-17 15:05
101K
Part 6 - Caston Basket Parts.jpg
2021-11-17 15:05
92K
Part 6 - Assembly of Bonnet_2.jpg
2021-11-17 15:05
58K
Part 6 - Assembly of Bonnet_1.jpg
2021-11-17 15:05
61K
Part 4 - Removing 30T support.jpg
2021-11-17 15:05
75K
Part 4- Removing 30T gear support.jpg
2021-11-17 15:05
74K
Part 4 - Pinion Handle_5.jpg
2021-11-17 15:05
62K
Part 4 - Pinion Handle Assembly_9.jpg
2021-11-17 15:05
111K
Part 4 - Pinion Handle Assembly_7.jpg
2021-11-17 15:05
64K
Part 4 - Pinion Handle Assembly_6.jpg
2021-11-17 15:05
62K
Part 4 - Pinion Handle Assembly_5.jpg
2021-11-17 15:05
64K
Part 4- Pinion Handle Assembly_4.jpg
2021-11-17 15:05
89K
Part 4 - Pinion Handle Assembly_3.jpg
2021-11-17 15:05
94K
Part 4 - Pinion Handle Assembly_2.jpg
2021-11-17 15:05
87K
Part 4 - Handle Assembly.jpg
2021-11-17 15:05
90K
Part 4 - Cleaning up 30T gear.jpg
2021-11-17 15:05
79K
Part 4 - Bearing Fitting to Pinion.jpg
2021-11-17 15:05
70K
Part4 - 30T gear cleanup_1.jpg
2021-11-17 15:05
66K
Part 3 - Empty Magnet Socket.jpg
2021-11-17 15:05
77K
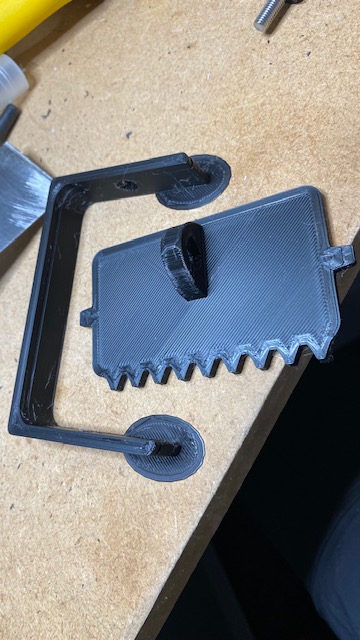
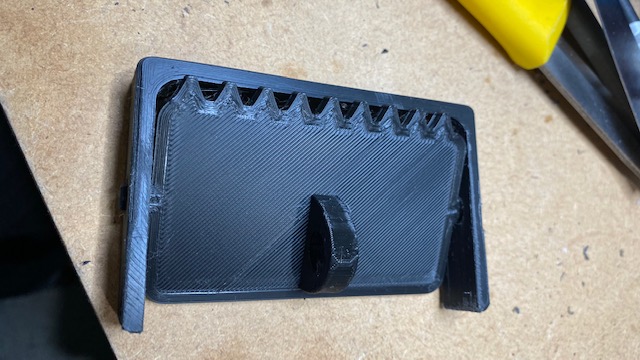
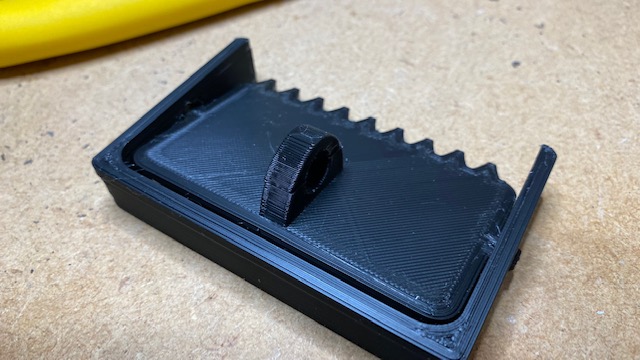
Part 2 Housing and Cam Fixings.jpg
2021-11-17 15:05
36K
Part 2 Fitting Foot Bolt to rear Block_1.jpg
2021-11-17 15:05
54K
Part 2 Fitting Foot Bolt to Rear Block_2.jpg
2021-11-17 15:05
77K
Part 2 Fitting Foot Bolts - with Foot Knobs.jpg
2021-11-17 15:05
88K
Part 2 - Removing the housing support block.jpg
2021-11-17 15:05
60K
Part 1 with Centre Cam Part 10C fixing bolt.jpg
2021-11-17 15:05
48K
Part 1 with Centre Cam Part 10C assembled_2.jpg
2021-11-17 15:05
68K
Part 1 with Centre Cam Part 10C assembled_1.jpg
2021-11-17 15:05
90K
Part 1 to Part 3 Assembly_2.jpg
2021-11-17 15:05
69K
Part 1 to Part 3 Assembly_1.jpg
2021-11-17 15:05
91K
Part 1 to Part 2 Assembly_3.jpg
2021-11-17 15:05
77K
Part 1 to Part 2 Assembly_2.jpg
2021-11-17 15:05
61K
Part 1 to Part 2 Assembly_1.jpg
2021-11-17 15:05
61K
Part 1 to Part 2 - Securing Bolt_High Nut.jpg
2021-11-17 15:05
83K
Part 1 to Part 2 - Securing Bolt_3.jpg
2021-11-17 15:05
62K
Part 1 to Part 2 - Securing Bolt_2.jpg
2021-11-17 15:05
56K
Part 1 to Part 2 - Securing Bolt_1.jpg
2021-11-17 15:05
61K
Part 1 to Part 2 - High Nyloc Nut - as shipped.jpg
2021-11-17 15:05
46K
Part 1 Pinion Fixing Screw_7.jpg
2021-11-17 15:05
57K
Part 1 Pinion Fixing Screw_6.jpg
2021-11-17 15:05
84K
Part 1 Pinion Fixing Screw_5.jpg
2021-11-17 15:05
52K
Part 1 Pinion Fixing Screw_4.jpg
2021-11-17 15:05
41K
Part 1 Pinion Fixing Screw_3.jpg
2021-11-17 15:05
43K
Part 1 Pinion Fixing Screw_2.jpg
2021-11-17 15:05
41K
Part 1 Pinion Fixing Screw_1.jpg
2021-11-17 15:05
52K
Part1 - Rear Bolt Fitting_2.jpg
2021-11-17 15:05
82K
Part1 - Rear Bolt Fitting_1.jpg
2021-11-17 15:05
75K
Part1 - Long Bolt Fitting_5.jpg
2021-11-17 15:05
72K
Part1 - Long Bolt Fitting_4.jpg
2021-11-17 15:05
55K
Part1 - Long Bolt Fitting_3.jpg
2021-11-17 15:05
47K
Part1 - Long Bolt Fitting_2.jpg
2021-11-17 15:05
54K
Part1 - Long Bolt Fitting_1.jpg
2021-11-17 15:05
92K
Part 1 - Captive nut for Part14.jpg
2021-11-17 15:05
55K
Part -4 Removed support.jpg
2021-11-17 15:05
141K
Optional Row Counter Testing_4.jpg
2021-11-17 15:05
69K
Optional Row Counter Testing_3.jpg
2021-11-17 15:05
95K
Optional Row Counter Testing_2.jpg
2021-11-17 15:05
64K
Optional Row Counter Testing_1.jpg
2021-11-17 15:05
94K
Optional Row Counter Switch_4.jpg
2021-11-17 15:05
56K
Optional Row Counter Switch_3.jpg
2021-11-17 15:05
73K
Optional Row Counter Switch_2.jpg
2021-11-17 15:05
81K
Optional Row Counter Switch_1.jpg
2021-11-17 15:05
93K
Optional Row Counter Reverse view.jpg
2021-11-17 15:05
54K
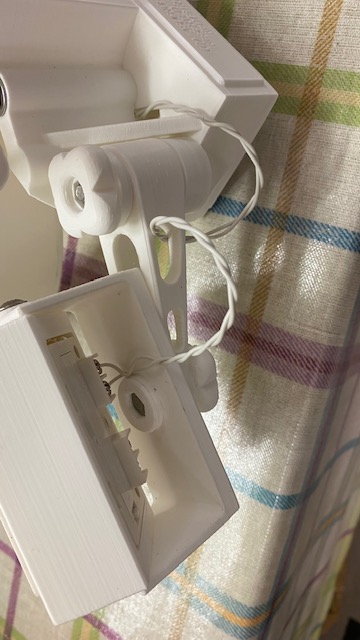
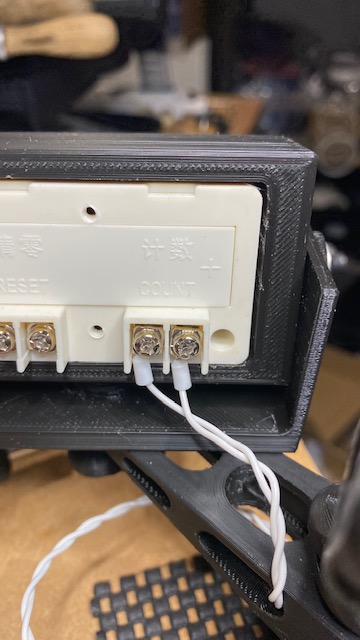
Optional Row Counter.jpg
2021-11-17 15:05
40K
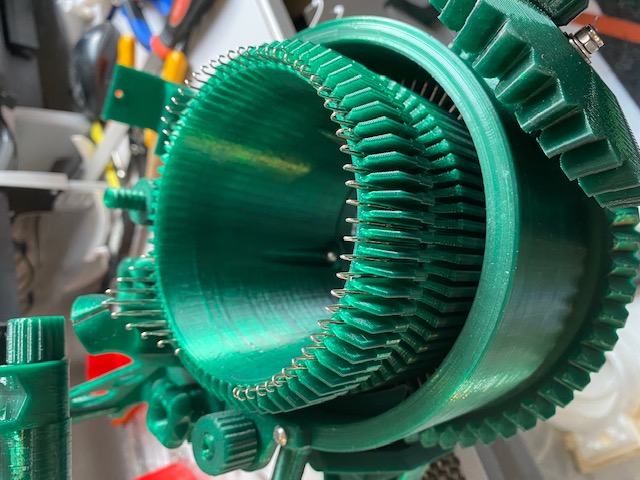
Needles_4.jpg
2021-11-25 11:09
15K
Needles_3.jpg
2021-11-25 10:19
36K
Needles_2.jpg
2021-11-25 10:19
43K
Needles_1.jpg
2021-11-25 10:19
48K
Magnet Socket on 60T.jpg
2021-11-17 15:05
65K
Grip release.jpg
2021-11-28 15:32
50K
Grip engaged with tension unit nut not tight.jpg
2021-11-28 15:32
44K
Grip and tension unit with loose nut.jpg
2021-11-28 15:32
46K
Grip and socket with tension unit.jpg
2021-11-28 15:32
58K
Grip Cutout Aligned with socket.jpg
2021-11-28 15:32
57K
Fixings Kit Part 1 to Part 2 - Securing Bolts.jpg
2021-11-17 15:05
88K
Fixings Kit - self tapping screws.jpg
2021-11-17 15:05
39K
Fixings Kit - Part 3 Pinion Bearing and Handle.jpg
2021-11-17 15:05
38K
Fixings Kit - Part 1 Screws and Nuts.jpg
2021-11-17 15:05
47K
Fixings Kit - Cam and Counter Bolts.jpg
2021-11-17 15:05
38K
Emerald Flash Machine.jpg
2021-11-18 12:25
104K
Bracket_Rear_View.jpg
2021-11-18 12:00
50K
Ashcroft Ribber Kit Landscape.jpg
2022-07-02 10:15
883K
Ashcroft CSM Kit_2.jpg
2021-11-17 15:05
108K
Ashcroft CSM Kit_1_landscape.jpg
2022-01-26 12:25
112K
Ashcroft CSM Kit_1.jpg
2021-11-17 15:05
115K
Apache/2.4.62 (Ubuntu) Server at cargo.odaymansour.net Port 443